

In the warm months, our homes often become a battleground for unwanted flying insects. Mosquitoes, flies, and other pesky bugs can make our lives miserable. While commercial insect traps are readily available, they can be expensive and may contain chemicals. If you’re looking for an eco-friendly and cost-effective solution to keep your home insect-free, consider making a flying insect light trap manually. In this article, we will guide you through the process step by step.

Table of Contents
- Introduction
- Understanding the Concept
- Materials Required
- Construction of the Trap
- Choosing the Right Location
- Attracting Flying Insects
- Maintenance
- Safety Precautions
- Benefits of a DIY Insect Light Trap
- 10. Safer Home SH502 Indoor Plug In Fly Trap
- Conclusion
- FAQs
1. Introduction
Dealing with flying insects indoors can be frustrating. The constant buzzing and potential health risks can be a cause for concern. A DIY flying insect light trap can be an effective solution, offering a safe and chemical-free way to keep your home insect-free. In this article, we will guide you on how to make one yourself.
2. Understanding the Concept
Before you embark on creating your flying insect light trap, it’s essential to understand how it works. The trap uses light to attract insects, and once they come near, they are trapped or eliminated. It’s an environmentally friendly way to deal with the problem.
3. Materials Required
To get started, you will need the following materials:
- A light source (e.g., LED light)
- A container (preferably transparent)
- Sticky paper or adhesive
- Electrical wiring
- A power source (e.g., a battery or plug)
4. Construction of the Trap
Here’s how you can assemble your insect light trap manually:
- Step 1: Choose a suitable container. It should be large enough to accommodate the light source and insects.
- Step 2: Fix the light source inside the container. Ensure it is securely in place.
- Step 3: Attach the sticky paper or adhesive near the light source. Insects attracted to the light will get stuck on the adhesive.
- Step 4: Connect the electrical wiring to the light and power source.
5. Choosing the Right Location
The placement of your insect light trap is crucial. Position it near areas where insects are likely to enter your home, such as doors or windows. Make sure it is visible to flying insects.
6. Attracting Flying Insects
Flying insects are attracted to certain wavelengths of light. UV or blue lights are often the most effective. Ensure that your light source emits the right wavelength to attract insects.
7. Maintenance
Regularly check and clean the sticky paper or adhesive in your trap. Replace it when it becomes too full or loses its stickiness. Clean the container to ensure the trap continues to work efficiently.
8. Safety Precautions
When working with electrical components, always follow safety guidelines. Ensure that the trap is out of reach of children and pets to prevent accidents.
9. Benefits of a DIY Insect Light Trap
Creating your own insect light trap offers several advantages:
- Cost-effective compared to commercial traps.
- Eco-friendly and chemical-free.
- Customizable to suit your needs and preferences.
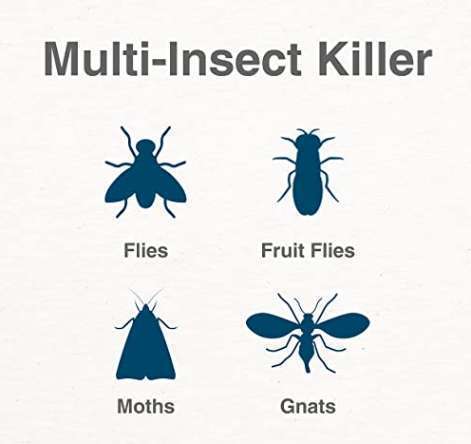
10. Safer Home SH502 Indoor Plug-In Fly Trap
If the manual process is difficult for you then you can use Safer Home SH502 Indoor plug in fly trap. To read more about Safer Home SH502 Flying Insect Light Trap Please hit the Read More button & to direct purchase hit the Buy Now button.
11. Conclusion
A DIY flying insect light trap can be a practical addition to your home. It provides an effective way to keep flying insects at bay without the use of harmful chemicals. By following the steps outlined in this article, you can create your own trap and enjoy a more insect-free environment.
12. FAQs
1. How does a DIY insect light trap work?
A DIY insect light trap uses light to attract flying insects. Once they approach the light, they get stuck on sticky paper or adhesive, effectively trapping them.
2. What type of light source is best for attracting insects?
UV or blue lights are most effective in attracting flying insects to the trap.
3. Is a DIY insect light trap safe for children and pets?
While it is generally safe, it’s essential to place the trap out of reach of children and pets to prevent accidents.
4. How often should I clean and replace the sticky paper in the trap?
Regularly check the sticky paper and replace it when it becomes full or loses its stickiness. Cleaning the trap’s container is also important to maintain its efficiency.
5. Are there any eco-friendly benefits to using a DIY insect light trap?
Yes, DIY insect light traps are eco-friendly as they do not involve the use of harmful chemicals, making them a safer choice for the environment.
Creating a DIY flying insect light trap for your home is not only a practical way to keep your living space insect-free but also an environmentally friendly choice. By following these steps and guidelines, you can enjoy a more comfortable and bug-free environment while contributing to a safer and chemical-free home.
